Tuen Design Studio Logo Tuen Design Studio Contact Us
Contact Us

Design Software and Tools You’ll Learn

Master the industry-standard tools that professionals use every day. From 3D visualization to CAD basics, you’ll get hands-on experience with real software used in renovation planning.

10 min read Beginner Level May 2026
Marcus Wong, Senior Interior Design Consultant

Author

Marcus Wong

Senior Interior Design Consultant & Course Director

16 years of Hong Kong renovation expertise specializing in kitchen and bathroom space planning.

Why Software Skills Matter in Design

When you’re planning a kitchen or bathroom renovation, having the right tools makes everything clearer. You’re not just imagining spaces anymore — you’re showing clients exactly what they’ll get. That’s the power of proper design software.

In our courses, we don’t just teach theory. You’ll spend time actually working with the programs professionals use daily. By the end, you won’t be struggling with unfamiliar interfaces. You’ll be confident moving between tools and understanding what each one does best.

The software landscape has shifted quite a bit over the last few years. What was industry-standard five years ago isn’t always the best choice now. We’ve kept our curriculum current with what’s actually happening in renovation firms around Tuen Mun and across Hong Kong.

What You’ll Actually Use

By the end of our program, you’ll have worked hands-on with 3D visualization software, floor planning tools, and basic CAD. These aren’t abstract concepts — you’ll create actual renovation plans you could show a client.

The Three Categories of Tools

Design software breaks down into three main areas. It’s important to understand what each does because they’re not interchangeable — they solve different problems.
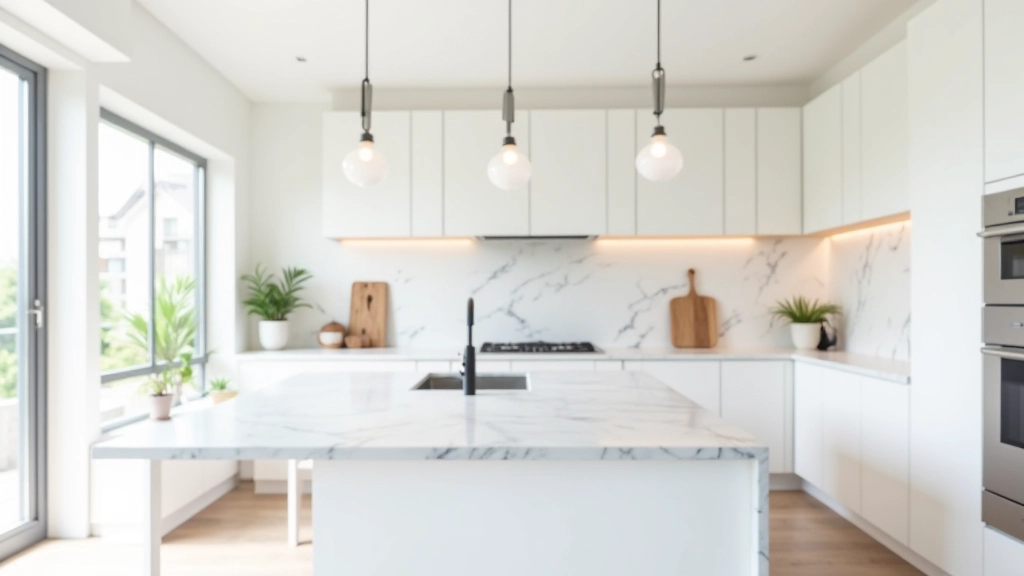
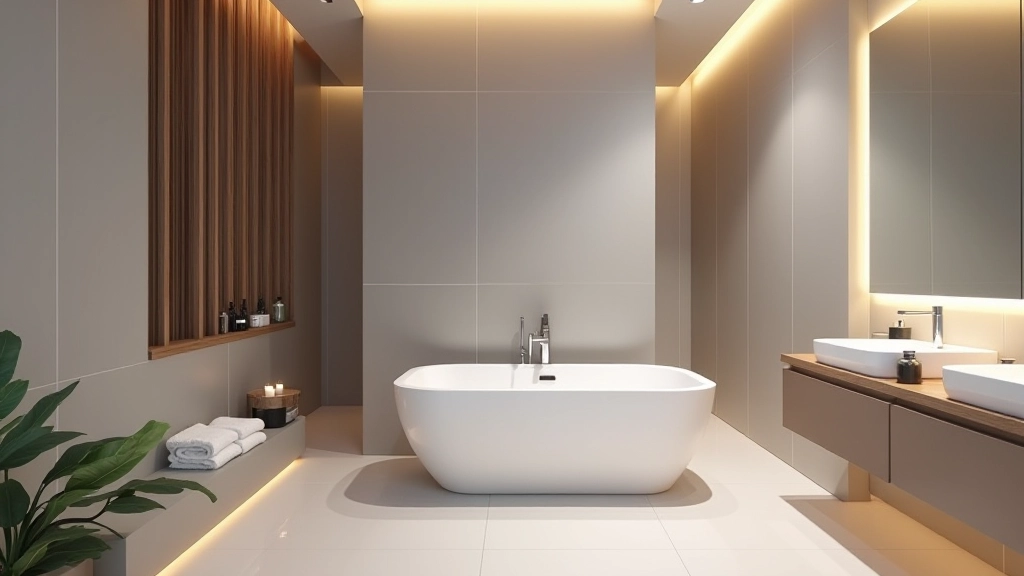
3D Visualization

Shows clients what their space will actually look like. Colors, materials, lighting — it’s all there. When someone can see a photorealistic render of their new kitchen, they understand your vision instantly.

Floor Planning & Layout

The technical foundation. Accurate measurements, spatial relationships, building codes compliance. You need this working correctly before you even think about colors and finishes.

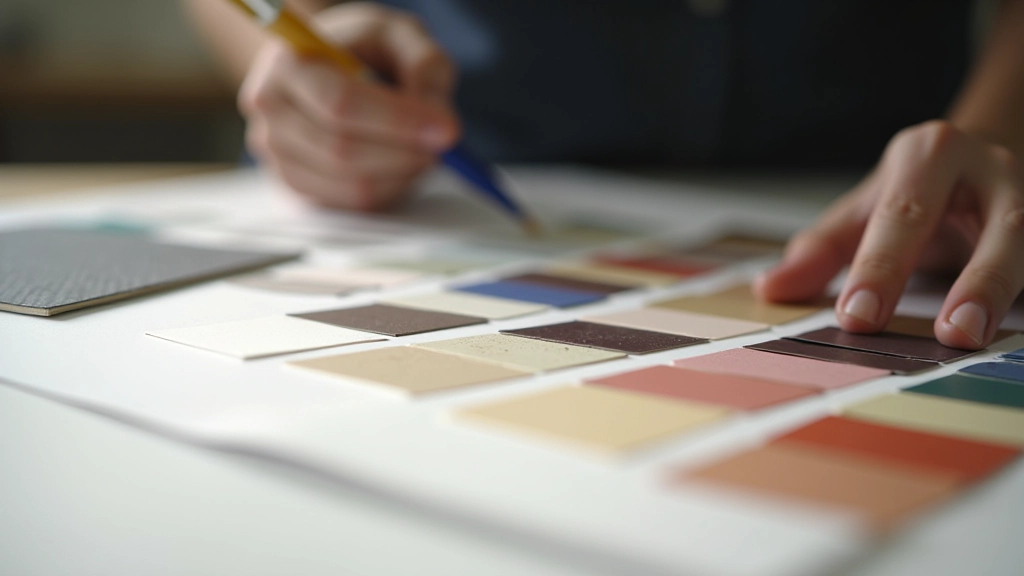
Mood & Material Creation

Digital mood boards and material libraries. You’ll compile colors, textures, and finishes to create cohesive design concepts. It’s how you organize your ideas visually.

Learning by Doing, Not Just Watching

Here’s what sets our approach apart. You’re not sitting through lecture after lecture. In the first session, you’ll actually open the software and start working. We show you the basics, then you practice immediately.

By week two, you’re creating a complete floor plan from measurements we provide. Week three, you’re adding materials and colors. Week four, you’re putting together a client presentation that looks professional.

That progression matters. You build confidence gradually instead of feeling overwhelmed by feature-rich software that has 500 buttons you’ll never touch.

Typical Session Structure

  1. Introduction (15 min) — What we’re building today and why it matters
  2. Demo (20 min) — I’ll show the specific workflow step-by-step
  3. Hands-on practice (40 min) — You work on the same task while I circulate and help
  4. Review and Q&A (15 min) — We look at what you’ve created and talk through challenges

The Specific Programs You’ll Learn

We focus on tools that are actually practical for someone starting out in renovation design. Not the most expensive enterprise software, but the tools that give you real professional capabilities.

3D Visualization

You’ll work with SketchUp and Lumion. SketchUp is the industry standard for creating 3D models quickly. It’s got a gentler learning curve than full CAD but still gives you precision. Lumion takes those models and makes them look photorealistic — that’s what clients actually want to see.

Floor Planning

AutoCAD basics are essential. You don’t need to become a CAD expert, but understanding how professionals create accurate technical drawings matters. You’ll also work with Floorplanner, which is more intuitive for renovation-specific planning.

Material & Mood Boards

Adobe Creative Suite gets some attention, but we’ll also show you how to use Canva and Moodboard for quick digital mood boards. Sometimes you don’t need Photoshop — you need something that works faster.

Real Projects, Real Feedback

During the course, you’ll work on actual renovation scenarios. We give you a real kitchen or bathroom that needs redesigning. Maybe it’s an awkward 8-foot-by-6-foot bathroom, or a kitchen that has terrible workflow. You’ll analyze the problems, create solutions, and present them.

I’ll critique your work like a real client would. That sounds harsh, but it’s actually the best way to learn. You find out what works before you’re doing this for paying clients. Plus, you’ll build a portfolio piece you can actually show to people when you’re looking for work.

Most people finish the course with 2-3 solid projects in their portfolio. That’s genuinely helpful when you’re starting out in this field.

Common Questions

Do I need a powerful computer?

Not necessarily. SketchUp and Floorplanner run fine on mid-range laptops. The heavier rendering work in Lumion needs more power, but we’ve got computers in the studio you can use. If you’re using your own laptop, an Intel i5 or equivalent with 8GB RAM is the minimum. You’ll want 16GB for comfortable work.

What if I’ve never used design software before?

That’s actually fine. We assume no prior knowledge. If you’re comfortable using a computer and can manage files, you’ll pick this up. The software has intuitive interfaces — they’re designed so people can learn them.

Can I use these tools after the course?

Yes, absolutely. You’ll get trial licenses during the course. After that, some tools are free or low-cost. SketchUp has a free version. Floorplanner has a free plan. AutoCAD is pricier, but you might use alternatives depending on your situation. We’ll talk through options that fit your budget.

Will I be job-ready after four weeks?

You’ll be confident with the tools, yes. Job-ready depends on what “job-ready” means. You can create professional-looking floor plans and visualizations. You understand the workflow. But renovation design also involves client skills, building code knowledge, and practical experience that comes with time. The software training is a critical foundation, not the whole picture.

How much does the course cost?

Contact us for current pricing and available payment options. We offer flexible scheduling and can discuss what works for your situation.

Get Started With Software Skills

Software proficiency isn’t optional in design anymore. It’s the language clients expect you to speak. But it’s not intimidating once you have someone guiding you through the basics.

In our course, you’ll move from never having used these tools to creating presentations that look genuinely professional. You’ll have a portfolio of real projects. You’ll know which tool to reach for and why.

That’s the difference between theoretical knowledge and practical capability. We’re teaching you the latter.

Ready to Learn?

Our next cohort is forming. Limited spots available.

Get in Touch

Disclaimer

This article provides educational information about design software and tools commonly used in renovation planning. The specific software recommendations and course structure described are based on current industry practices and may change as tools and technologies evolve. Software features, pricing, and availability are subject to change by their respective providers. Actual results from learning design software depend on individual effort, prior experience, and application of the skills taught. This course is informational and educational in nature and does not guarantee employment or specific job outcomes.